

Getting started
This list prepares your site for going live. Each step checks itself off once done, wherever you do it in the dashboard.
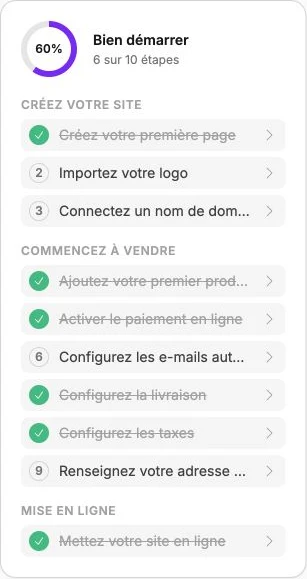
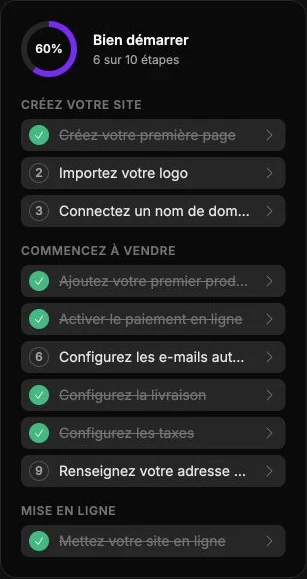
Launch your site, step by step
- Create your first page, for example the home page, in Website > Pages: Website, Page editor.
- Upload your logo and colors, used on the site, at checkout and in emails: Logo, colors and fonts.
- Add your first product (photos, price, description, variants): Products.
- Configure shipping (zones, rates, carriers, pickup): Shipping and pickup.
- Enable online payments by linking Stripe: Payments, taxes and invoices, Online payments.
- Set up VAT for the regions you sell in, then your business address for your invoices.
- Set up automated emails (confirmations, shipping) sent from your address: Email sending.
- Connect a domain name, for example
your-store.com: Domain name. - Take your site live by choosing a plan in Subscription and billing. Without a subscription, your domain does not lead to your site. See Your Vivlab account.
Next: handle orders with Orders and returns, bring customers back with a coupon, loyalty or a blog, and sell in a shop with the Point of sale.
Good to know
- A ring shows your progress as a percentage (for example 3 of 10 steps); a completed step turns green and is crossed out.
- The Start selling steps (product, payment, emails, shipping, taxes, billing address) only appear and count if your site has a store.
- Until a domain name is connected, the Home menu opens this page; after that it opens your statistics and the list stays under Home > Getting started.
- The First steps banner leads to this documentation (Read the documentation) or to support (Help center). Stuck on a word? See Understand the terms.
The "Discover the dashboard" cards
Four families, with a counter (for example 2/4) and an Active badge on what is set up:
- Publish your site and content: pages, site translation, blog.
- Sell online: products, online payment, orders, shipping.
- Your brand and presence: logo, colors and fonts, domain name, taxes, invoicing, going live.
- Build loyalty and automate: customer accounts, promo codes, loyalty program, emails, custom code.